
Welcome to the quick summary of our step-by-step guide on how to set up a portable WiFi hotspot! In today’s fast-paced world, staying connected is more important than ever. Whether you’re traveling, working remotely, or simply in an area with limited WiFi access, having your own portable hotspot can be a real game-changer.
Now, let’s delve into the purpose of this guide. We understand that technology can sometimes be overwhelming, and setting up a portable WiFi hotspot might seem like a daunting task. That’s where our step-by-step guide comes in. We’ve designed it with empathy, keeping in mind that not everyone is a tech expert.
Our aim is to provide you with clear and simple instructions, so you can easily navigate through the process of setting up your own portable WiFi hotspot. By the end of this guide, you’ll have the knowledge and confidence to create your own personal WiFi network wherever you go.
So, let’s get started on this journey towards seamless connectivity!
Stay Connected on the Go!


Step 1: Check device compatibility
To ensure that your device supports portable WiFi hotspot functionality, start by checking your device’s user manual or settings. For example, on an iPhone, go to Settings > Personal Hotspot to confirm compatibility. On an Android device, look for the “Tethering & portable hotspot” option in the settings menu. If these options are available, it means your device supports portable WiFi hotspot functionality.


Step 2: Enable the portable WiFi hotspot
To enable the portable WiFi hotspot on your device, navigate to the settings menu. Look for the option labeled ‘Network & Internet’ or ‘Tethering & Hotspot’. Once you find it, tap on it to access the hotspot settings. Here are a couple of examples to help you locate the option:
- On Android: Go to Settings > Network & Internet > Hotspot & tethering.
- On iPhone: Go to Settings > Personal Hotspot.
Remember, the exact location of the hotspot settings may vary depending on your device and operating system version.
Step 3: Set a network name and password
Name your network (SSID) by entering a unique and recognizable name that other devices can easily identify. Then, select a strong password that includes a combination of upper and lowercase letters, numbers, and special characters. This will ensure the security of your portable WiFi hotspot and prevent unauthorized access.
Step 4: Adjust hotspot settings (optional)
If desired, customize additional hotspot settings by following these steps:
- Open the hotspot settings menu on your device.
- Select the network band that you prefer.
- Choose the security protocol that best suits your needs.
- Set data usage limits, if applicable.
Remember to save your changes before exiting the settings menu.
Step 5: Activate the portable WiFi hotspot
To activate the portable WiFi hotspot, locate the switch or button on your device specifically labeled for this purpose. Toggle it on to begin broadcasting the WiFi signal. For example, on most smartphones, you can find this option in the settings menu under “Hotspot” or “Tethering.” Once activated, nearby devices will be able to connect to your hotspot and enjoy internet access.
Step 6: Connect to the portable WiFi hotspot
To connect to your portable WiFi hotspot, follow these steps:
- On your other device (such as a smartphone or laptop), navigate to the WiFi settings.
- Look for the list of available networks and find the network name (SSID) of your portable WiFi hotspot.
- Example: Network name: MyPortableWiFi
- Select the network name to connect to it.
- If prompted, enter the password that you set in Step 3.
- Example: Password: 12345678
- Wait for the device to establish a connection with the hotspot.
- Once connected, you’re all set to start using the internet through your portable WiFi.
Remember, the steps may slightly differ depending on your device’s operating system or brand.
Step 7: Confirm the connection
After successfully connecting to the portable WiFi hotspot, you should see a notification or icon on the other device confirming the connection. Look for a pop-up message or a WiFi symbol in the status bar of your device. This will indicate that the connection has been established and you can now start using the internet on the connected device.
Step 8: Adjust advanced hotspot settings (optional)
To adjust advanced hotspot settings, follow these steps:
- Open the advanced hotspot settings menu on your device.
- Look for options such as IP address range, MAC filtering, or device priority.
- If you need to change the IP address range, specify the desired range within the available options.
- To enable MAC filtering, add the MAC addresses of the devices you want to allow or block from accessing the hotspot.
- If you want to prioritize certain devices over others, adjust the device priority settings accordingly.
Remember, these advanced settings are optional and only need to be adjusted if necessary.
Step 9: Monitor and manage connected devices
To monitor and manage connected devices on your portable WiFi hotspot, follow these steps:
- Open the settings menu on your device.
- Look for the “Connected Devices” section or a similar option.
- Tap on it to access the list of devices currently connected to your hotspot.
- From here, you can view the number of devices connected and their details.
- To manage a specific device, select it from the list.
- Depending on your device’s settings, you may have options to block the device or limit its bandwidth.
- Choose the desired action and confirm your selection.
By following these steps, you can easily keep track of the devices connected to your portable WiFi hotspot and manage them according to your preferences.
Step 10: Disable the portable WiFi hotspot
To disable the portable WiFi hotspot, follow these simple steps:
- Go to your device’s settings. This can usually be done by tapping on the gear icon on your home screen or by swiping down from the top of the screen and selecting the settings icon.
- Look for the “Network & Internet” or “Connections” section in the settings menu. Tap on it to proceed.
- Within this section, you should see an option called “Hotspot & Tethering” or something similar. Tap on it to access the hotspot settings.
- Finally, toggle the switch next to “Portable WiFi hotspot” or a similar option to turn it off. This will stop broadcasting the WiFi signal and save your device’s battery life.
For example, on an Android device, the steps might look like this:
- Tap on the gear icon to open the settings menu.
- Scroll down and select “Network & Internet.”
- Tap on “Hotspot & Tethering.”
- Toggle off the switch next to “Portable WiFi hotspot.”
Remember to disable the portable WiFi hotspot when you no longer need it to ensure that your device’s battery lasts longer.
Wrap Up: Final Thoughts
In conclusion, setting up a portable WiFi hotspot is a straightforward process that can provide you with convenient internet access on the go. By following the steps mentioned in this blog post, you’ll be able to easily configure your hotspot, connect your devices, and manage your network settings. Whether you’re traveling or simply in need of a reliable internet connection outside of your home, a portable WiFi hotspot can be a valuable tool. So don’t hesitate to give it a try and enjoy the benefits of staying connected wherever you are!
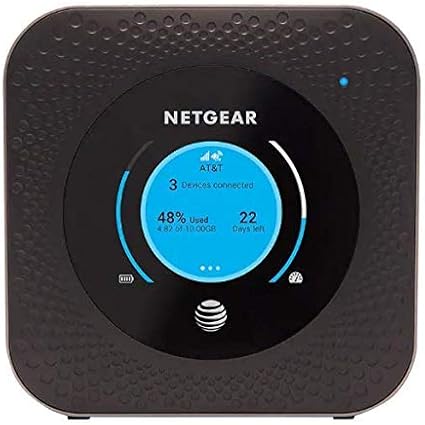
Boost Your Internet Connectivity
Step-by-step guide to setting up and utilizing your Portable WiFi hotspot
- Turn on your portable WiFi hotspot device by pressing the power button
- Connect your smartphone, tablet, or laptop to the WiFi hotspot by going to the device’s WiFi settings
- Locate the WiFi network name (SSID) and password on the device or in the user manual
- Select the WiFi network name (SSID) from the available networks and enter the password when prompted
- Once connected, you can now browse the internet, stream videos, or use any online app just like you would with a regular WiFi connection. Remember to monitor your data usage if you have limited data allowance
Answers to all your questions about portable WiFi hotspots
Are there any limitations or restrictions when using a portable WiFi hotspot?
Yes, there are a few limitations or restrictions to keep in mind when using a portable WiFi hotspot. Here are a few:
- Coverage: The range of a portable WiFi hotspot is limited, usually around 30 feet or so. So, you need to stay within this range to ensure a stable connection.
- Number of devices: Most portable WiFi hotspots have a limit on the number of devices that can connect to it simultaneously. It could range anywhere from 5 to 10 devices, depending on the specific hotspot model.
- Data usage: Portable WiFi hotspots usually have a data cap, meaning there is a limit to the amount of data you can use within a certain time period. Once you exceed this limit, your connection speed may be reduced or your service may be suspended until the next billing cycle.
- Battery life: Portable WiFi hotspots are powered by batteries, so their usage time is limited. The battery life can vary depending on the model and usage, but on average, you can expect several hours of continuous use before needing to recharge.
- Network congestion: In crowded areas with many WiFi networks or heavy data usage, the speed and performance of your portable hotspot may be impacted due to network congestion. This can result in slower speeds and reduced reliability.
I’ve been having trouble connecting my devices to my portable WiFi hotspot. Any troubleshooting tips?
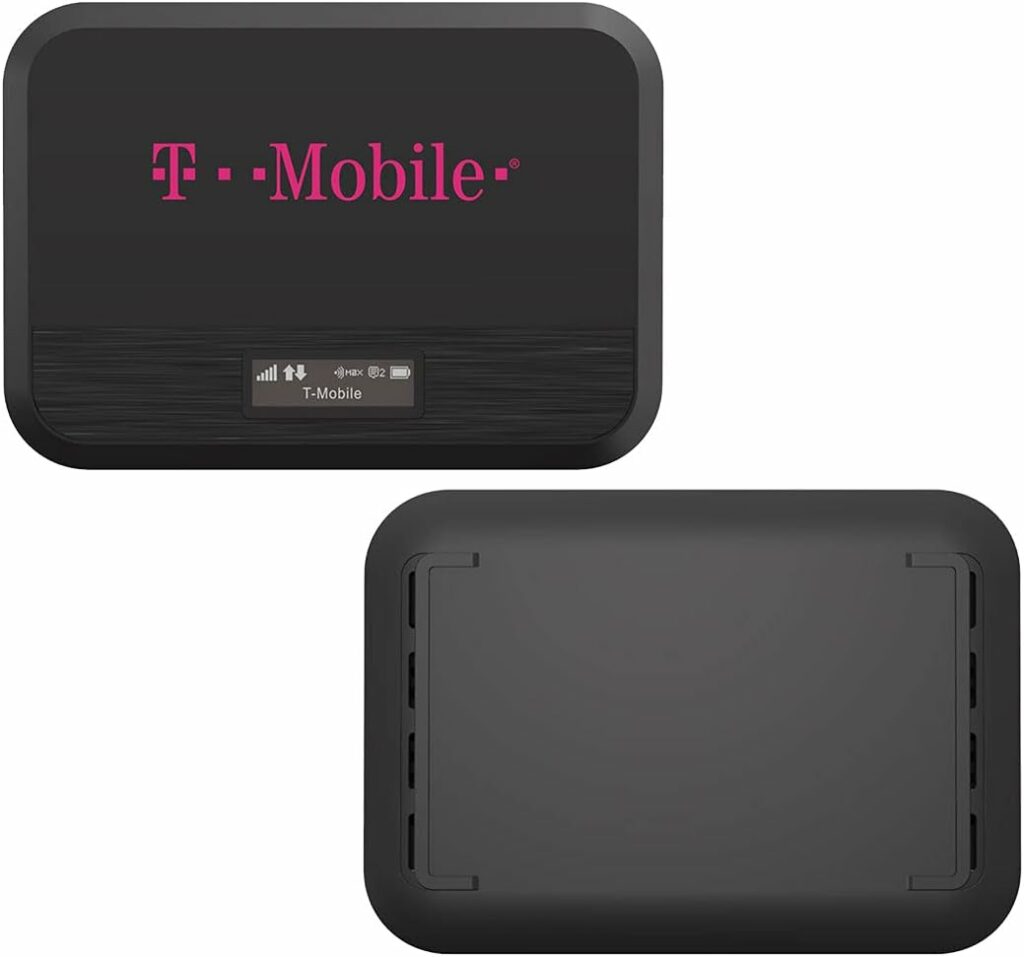
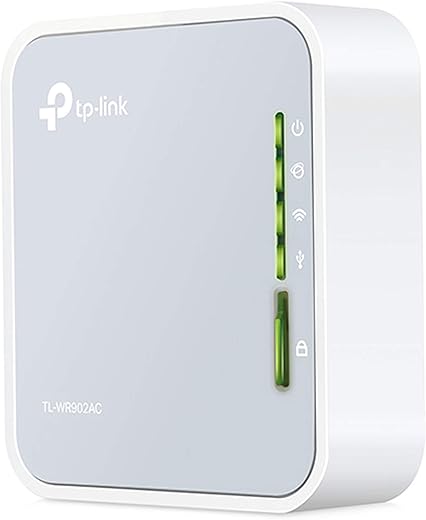
Can you recommend any specific portable WiFi hotspot devices?
Is it possible to share a portable WiFi hotspot with others?
I’ve heard that some portable WiFi hotspots have limitations on the number of devices that can connect. Is that true?
Thank you for this informative article! I feel confident now in setting up my own portable WiFi hotspot.
The step-by-step instructions are very clear and easy to follow.
What is the average battery life of a portable WiFi hotspot?
Can I use a portable WiFi hotspot while traveling abroad?
Are there any security concerns with using a portable WiFi hotspot?
Is it possible to set up a portable WiFi hotspot without using a SIM card?
Great article! I’ve been wanting to set up a portable WiFi hotspot for a while now.
I like that you included tips for choosing a good portable WiFi hotspot device.